■ Using the camera
The phone has a built-in camera that can be used for taking photos and recording
video clips. For information about the camera settings, see
Camera (Menu 6)
on
page
104
.
Photos and video clips use shared memory, see page
21
.
Note: Your phone must be switched on to use this function. Do not switch the
phone on when wireless phone use is prohibited or when it may cause interference
or danger.
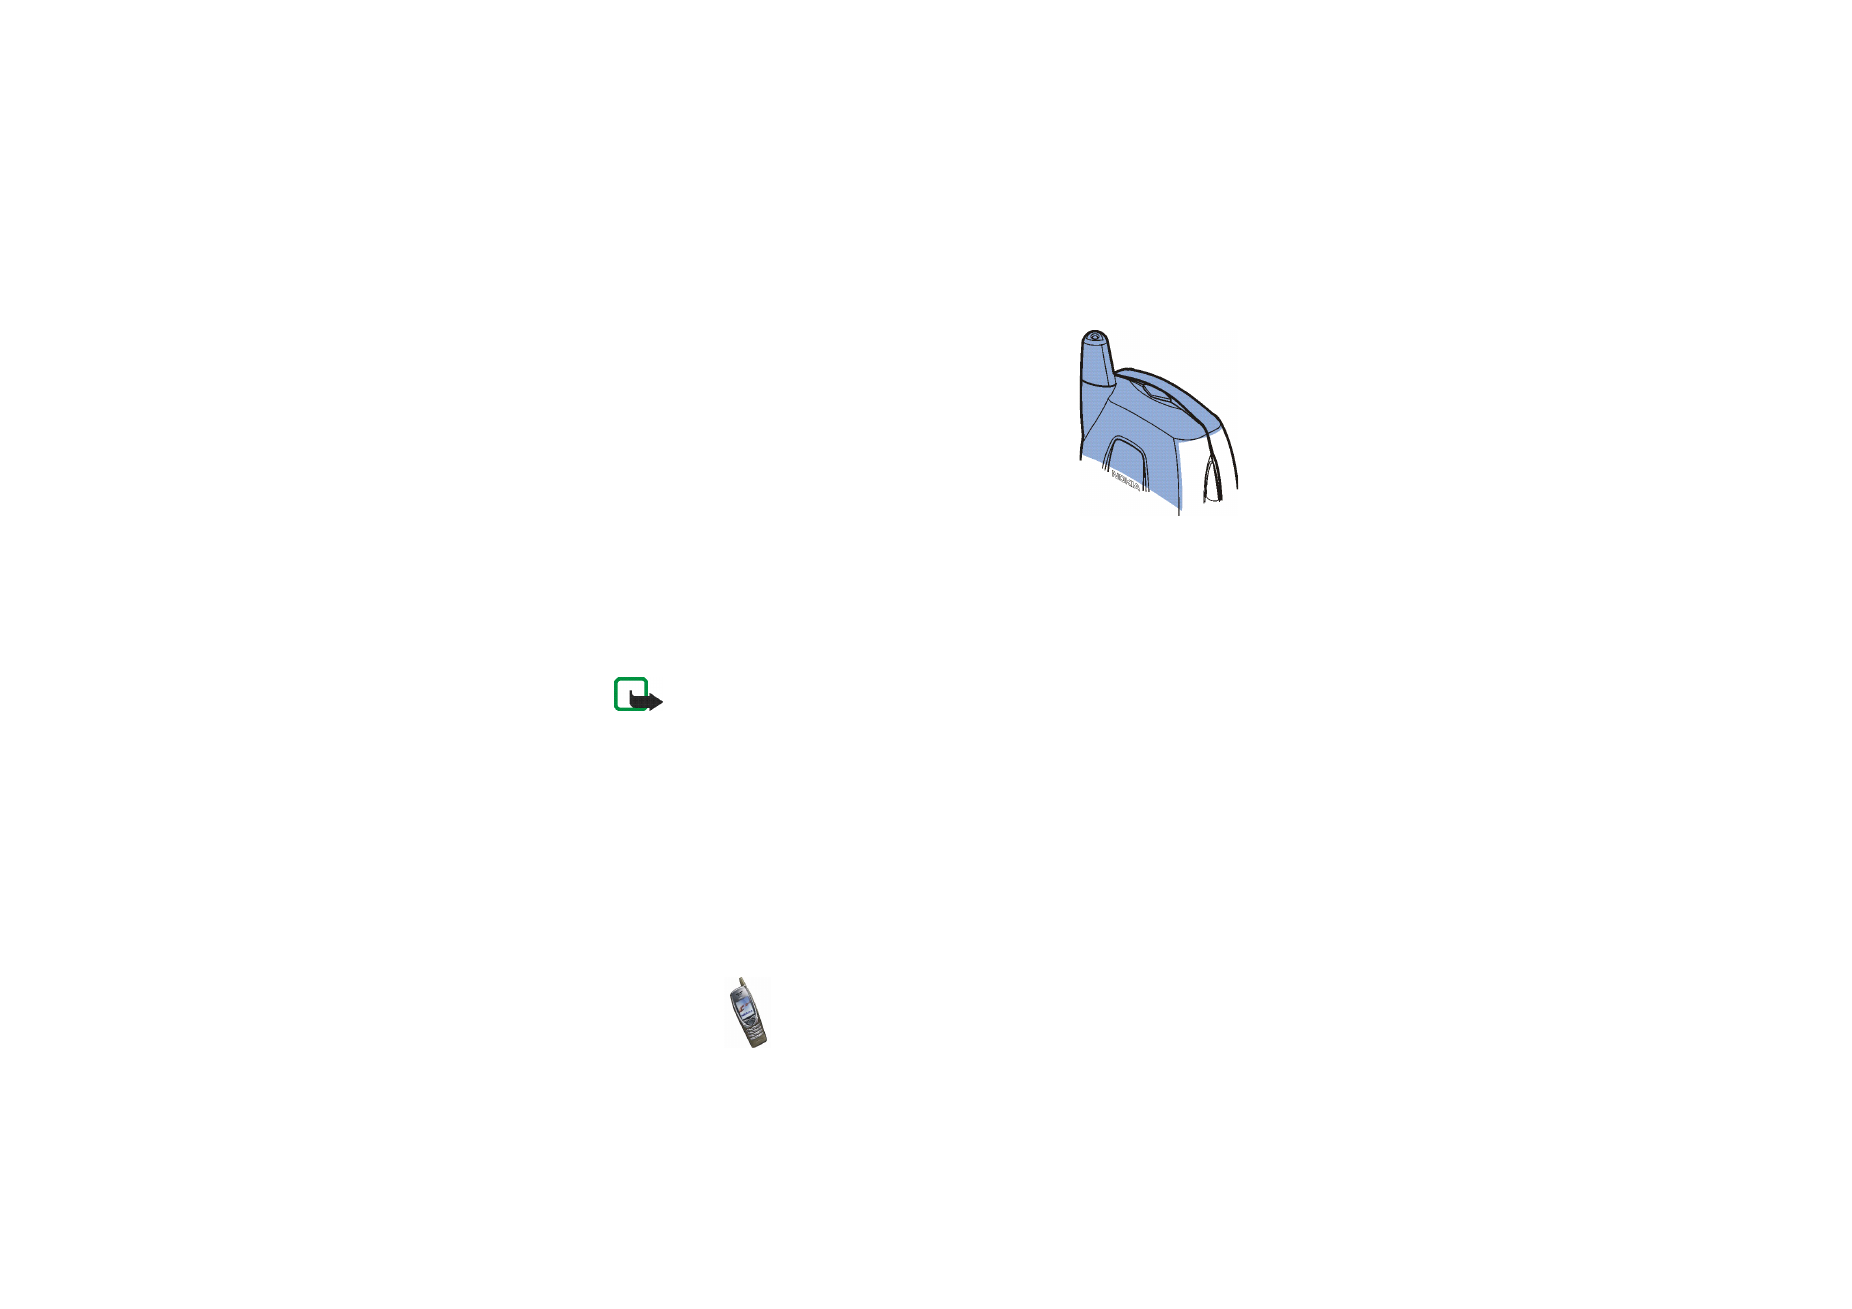
1. Open the lens cover at the back of the phone. See
Using the camera lens cover
on page
28
.
The live image appears on the display. You can use the display as a viewfinder.
Pressing
Options
allows access to the following functions. Select
•
Change mode
to set the camera to the desired operation mode.
Select
Standard photo
to take a regular photo (in landscape orientation).
Select
Portrait photo
to take a photo that can be attached to a name saved

Copyright
©
2003 Nokia. All rights reserved.
34
in the phone book. Select
Video
to record a video clip. Select
Night mode
to
take a photo when the lighting is dim and the camera needs a longer
exposure time.
You can set the default mode in the
Camera
menu, see page
104
.
Tip: To quickly change the camera mode, press and hold or when
the live image is shown on the display.
•
Self-timer
to set the camera to take the photo within 10 seconds after you
press
Start
.
While the self-timer is running, a second counter is shown at the top of the
display and a beeping sound is heard. This sound can be set on or off using
the
Camera sounds
setting in the
Camera
menu.
•
Mute
to turn off the microphone when the selected camera mode is
Video
.
•
Open Gallery
to view the photos in the desired folder of the
Gallery
menu.
2. Press
Capture
to take a photo or
Record
to record a video clip.
If you do not press
Capture
or
Record
within one minute, press
Continue
to
activate the camera again.
• The approximate number of photos that can be saved in the phone is shown
at the top of the display. This number is determined by the
Image quality
setting, the selected camera mode and the amount of free shared memory.
If the distance to the subject is closer than 30 centimetres it may affect the
sharpness of your photo.

Getting started
35
Copyright
©
2003 Nokia. All rights reserved.
• When you record a video clip, the amount of remaining recording time is
shown at the top of the display. The default maximum length of a video clip
is 15 seconds. You can change this time using the
Video clip length
setting
in the
Camera
menu.
To stop the recording and save the video clip, press
Stop
.
To pause the recording, press
Pause
. To resume the recording, press
Continue
.
3. The photo or video clip is displayed and saved with the default name in the
Images
or
Video clips
folder of the
Gallery
menu. You can define the default
name in the
Camera
menu. The photos are saved in JPEG format and the video
clips in 3GP format.
To delete the displayed photo, press
Delete
. To view the video clip, press
Play
.
To capture a new photo or video clip, press
Back
.
If you press
Options
, you can select an option to, for example, rename the
saved photo or video clip, or send it in a multimedia message (network service)
or via an infrared or Bluetooth connection to a compatible device. You can also
attach a portrait photo to a name or phone number in the phone book.
Note that a video clip can be sent in a multimedia message only if the length of
the clip is 15 seconds at the most.

Copyright
©
2003 Nokia. All rights reserved.
36